by jcastles | Jun 22, 2012 | Uncategorized
I’ve been using a little mason jar for my youngest son’s “piggy bank” for a while. There are two problems with that. One, I have to handle it anytime he puts change in it because it’s breakable. Two, It was ugly! Sure I could have cutened (yes that’s a word, lol) it up a bit but why for such a short term thing (well it was suppose to be short term).
I decided it was time! So with my container, scrapbook paper, letter stickers, and mod podge in hand I went to work. This project took me all of 10 minutes! It’s cute and my 3 yr old can hold it when he puts his own money in now!
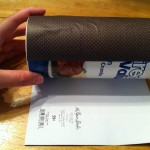
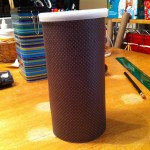
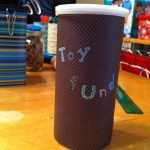
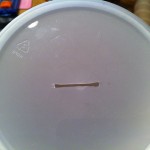

First I washed the canister and let it air dry. Then I cut my scrapbook paper to size, used mod podge to adhere it to the canister (elmers works too–used it before for a project like this), stuck my stickers, cut my hole (big enough for a quarter to fit), and it’s now on display in my son’s room (up high of course–I don’t need him choking on a quarter!).
Easy, cute, and it works!.
by jcastles | Jun 21, 2012 | Birthday Parties, Holiday Crafts, Uncategorized
So school is out and summer is here! We definitely know that summer is here in this house….our air conditioning has been out for a week!!! Luckily for most of the week it’s been out we had a little rain that cooled the temperature off a bit. So mostly we’ve been in the low 80’s but we’re quickly climbing back into the mid 90’s! We do have 2 window ac units and a stand alone unit that we’ve hooked up so the living room and bedrooms are cool at night and tolerable during the day.
So back to the popsicle parties! Since my youngest son is 3 and most of his classmates are young I scheduled his popsicle party for the morning. And I had a genius idea to schedule my middle son’s popsicle party for the same day but in the afternoon. Maybe it was the heat since we had no air or the outside temp being in the 90’s since 10am that day but yah….I don’t think i’ll ever do them the same day agian!
Here is a pic of a generic popsicle invitation. I created the invite in photoshop (just learning how to use it). Anyway, I used a popsicle coloring page template, added my text, hot glued a popsicle stick on the back and used a 1.5 inch scallop craft punch to make the bite look. For my real invitations I used some super cute cardstock from Michaels. It was a pale yellow, seafoam green, and a blue…they had embossed polka dots on them too. But this was my test paper…paper I already had at home that I just don’t use.
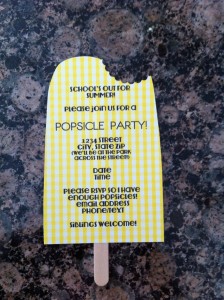
To get the template email me at messijessimail.com (i’ll post the template when I figure out how to get a psd uploaded!)
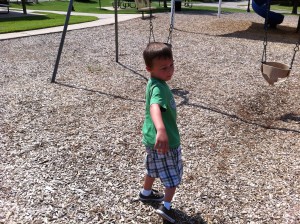
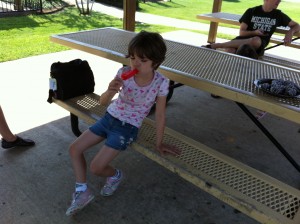
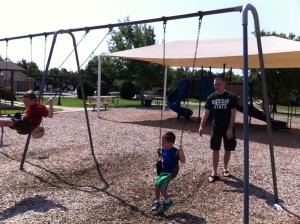
Here are pictures from Jayson’s (youngest son) party!

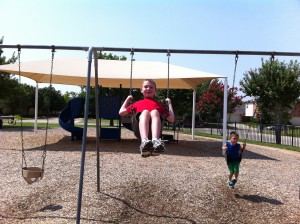
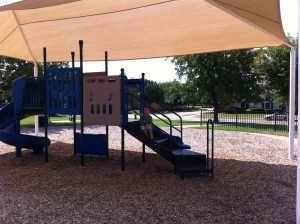
And this is my middle son’s popsicle party!

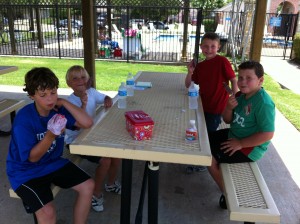
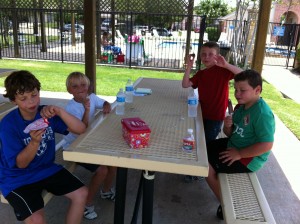
Overall everyone had tons of fun! I loved the smiles on my boys faces!
.
by jcastles | Jun 20, 2012 | Uncategorized
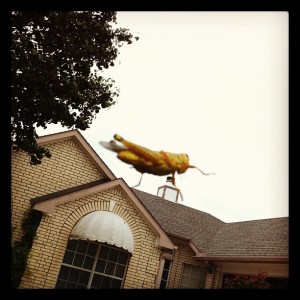
This hopper landed on my windshield as I was pulling in my drive way yesterday. I only noticed that it looked like it was on my house when I posted to facebook. I did not edit the hopper onto my house…I did add a filter and border from Instagram!
Totally awesome!
 .
.
by jcastles | Jun 20, 2012 | Family, Uncategorized
My nephew graduated high school the other day. I wanted to give him a cash gift but didn’t want to do a gift card or just a card with the money in it. So I got to thinking and this is what I came up with.
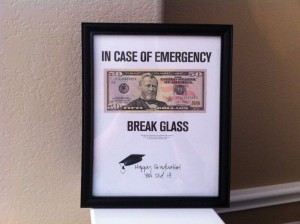
The small print says:

To get this free printable (8×10):
Happy Graduation.
by jcastles | Jun 19, 2012 | Family, Uncategorized
Last year for Father’s Day I made one kick butt card for the hubbs and knew I had to out do it this year. So of course I hit up Pinterest! I found several great ideas but with the air conditioning being out I didn’t have much time to do anything.
First we gave Dad some money. My middle son had been wanting to get him tools so I thought this was the best way but didn’t want to put cash in a card….how lame is that! So I went to my local Dollar Tree to browse the isles for ideas and decided to go with a mason jar.
So I put my $20 bill in the jar, added some basket shred, put my top back on, and hot glued a flower (in daddish colors) I made to the seal of the mason jar. I also added some letters that spelled DAD on the jar. They came from regular ole alphabet scrapbook paper and I attached them with my tape runner.
Next I made a document in Photoshop (yah…i was impressed with myself, lol!). I put questions in that all 3 kids could answer no matter how silly or real it was. It was real funny seeing the difference in them all.
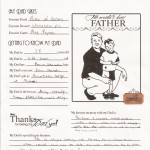
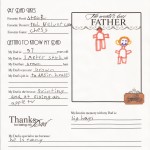
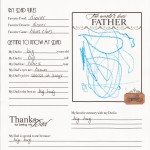
Want this doc?
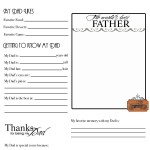
Download here: All About Dad.
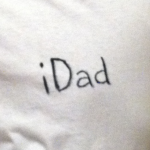
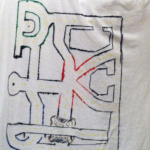
Next up was a shirt i’d seen on Pinterest. I had my very artistic 19 yr old stepson do all the work. He decided to draw it with sharpie markers and he incorporated the first letter of each kiddo in the track (D,K,J). I think he did a FANTASTIC job! And Dad really loves this shirt!!
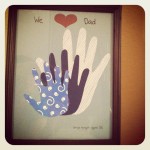
My last project I wanted to make was a handprint gift. I got a document frame from the Dollar Tree and used scrapbook paper and cardstock I had on hand. Traced the kiddies hands on scrapbook paper in coordinating blue’s and taped them to my cardstock using my tape gun. Before I taped them to the cardstock I created a paper in photoshop that said “We ♡ Dad” at the top and at the bottom it had the boys names and the year. He liked it so much he took it to work with him!
I hope all the Father’s out there had a great Father’s Day…I’m pretty sure ours did!.


Recent Comments